MIDI Instrument
You can use MIDIInstrument to create a new sender that will allow you to send MIDI notes and MIDI control changes at the same time.
Creating your own MIDI instruments can be advantageous, especially if you are used to playing with external instruments or physical hardware:
- you can name every control change you are using instead of relying on numbers and variable names.
- you only have one interface to control both notes and control changes instead of two separate patterns.
- you can build yourself a library of MIDI instrument so that you don't need to reconfigure your studio everytime.
To create a new MIDIInstrument, you will need two things:
- a mapping describing the MIDI configuration of your instrument.
- a call to
MIDIInstrumentto create both the sender and the player for your instrument
The mapping is a simple Python dictionary:
plaits_channel=4
plaits = {
   'model': { 'control': 50, 'channel': plaits_channel, },
   'timbre': { 'control': 51, 'channel': plaits_channel, },
   'morph': { 'control': 52, 'channel': plaits_channel, },
   'harmo': { 'control': 53, 'channel': plaits_channel, },
}
Note that we provide both a channel and a control number for the CC we want to map.
Once this is done, you can call the MIDIInstrument function to create your new instrument.
Please note that we are capturing two new names. By convention, the uppercase version is for
senders while the lowercase version is for players.
Plaits, plaits = MIDIInstrument(midi, channel=plaits_channel, instrument_map=plaits)
You can now use this new MIDI instrument in each of the playing modes:
Pc * plaits('C..F.G..B.', model='rand*12', morph='rand*127', p='0.5 1 0.25!4')

@swim
def demonstration(p=1/2, i=0):
    Plaits('C3 G4 F3 F4', i=i, d=2)
    again(demonstration, p=1/2, i=i+1)

panic()
You can use this system to map your hardware instruments or some software you previously configured for CC. The biggest advantage of this method is that it allows you to name all the CC messages you use automatically and to pattern them freely.
See the complete example to get a better understanding of this system.
Mapping example: Prok Drums
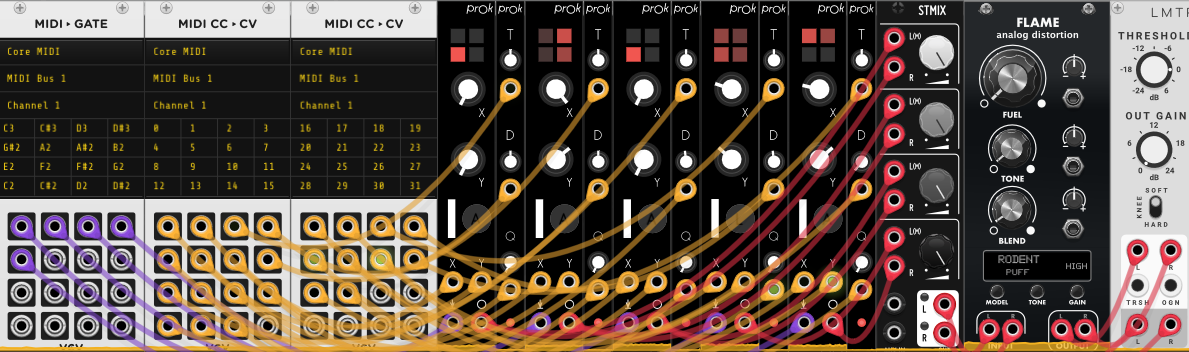
In this example, we are mapping the Prok drum modules from VCVRack into Sardine. We have previously defined a MIDI mapping that we are going to use.
# Definition of controls
bass_drum = {
   'x': { 'control': 0, 'channel': 0, },
   'y': { 'control': 1, 'channel': 0, },
   't': { 'control': 2, 'channel': 0, },
   'len': { 'control': 3, 'channel': 0, },
   'quality': { 'control': 4, 'channel': 0, },
}
snare_drum = {
   'x': { 'control': 5, 'channel': 0, },
   'y': { 'control': 6, 'channel': 0, },
   't': { 'control': 7, 'channel': 0, },
   'len': { 'control': 8, 'channel': 0, },
   'quality': { 'control': 9, 'channel': 0, },
}
klonk_drum = {
   'x': { 'control': 10, 'channel': 0, },
   'y': { 'control': 11, 'channel': 0, },
   't': { 'control': 12, 'channel': 0, },
   'len': { 'control': 13, 'channel': 0, },
   'quality': { 'control': 14, 'channel': 0, },
}
clap_drum = {
   'x': { 'control': 16, 'channel': 0, },
   'y': { 'control': 17, 'channel': 0, },
   't': { 'control': 18, 'channel': 0, },
   'len': { 'control': 19, 'channel': 0, },
   'quality': { 'control': 20, 'channel': 0, },
}
hat_drum = {
   'x': { 'control': 21, 'channel': 0, },
   'y': { 'control': 22, 'channel': 0, },
   't': { 'control': 23, 'channel': 0, },
   'len': { 'control': 24, 'channel': 0, },
   'quality': { 'control': 25, 'channel': 0, },
}
# Adding the new drum modules
Kick, kick = MIDIInstrument(midi, channel=0,  instrument_map=bass_drum)
Snare, snare = MIDIInstrument(midi, channel=0, instrument_map=snare_drum)
Klonk, klonk = MIDIInstrument(midi, channel=0, instrument_map=klonk_drum)
Clap, clap = MIDIInstrument(midi, channel=0,  instrument_map=clap_drum)
Hat, hat = MIDIInstrument(midi, channel=0,   instrument_map=hat_drum)
We can now start playing with our drums:
Pa * kick('(eu 48 7 8)', p=1, t='10', len=1, dur=0.1, x=0, y=0, quality=0)

Pb * hat('(eu 51 5 8)', p=.25, x='rand*120', y=120, quality='0', len='1')
Mapping example: Faust Synthesizer
Here is a new example we have been cooking for a workshop. This time, we are going to link a synthesizer developed using the Faust programming language to Sardine. It uses a simple substractive architecture and we added a small reverb for demonstration purposes. In the FaustIDE, run the following lines:
import("stdfaust.lib");

reverb_amount = hslider("reverb_wet",0,0.01,0.9,0.01);
dry_wet_mono(c, x0,x1) = y0, y1
with {
    y1 = (1-c) * x0;
    y0 = c * x1;
};

attack = hslider("attack[midi:ctrl 32]",0.1, 0.01, 2, 0.1):si.smoo;
release = hslider("release[midi:ctrl 33]",0.1, 0.01, 2, 0.1):si.smoo;
cutoff = hslider("cutoff[midi:ctrl 34]",2000,200,44100/4.0,0.5):si.smoo;
resonance = hslider("resonance[midi:ctrl 35]",0.5,0.01,0.9,0.01);
filter_gain = hslider("filter_gain[midi:ctrl 36]",0.9,0.01,0.9,0.01);
fx = hslider("fx[midi:ctrl 37]",0.5,0.01,0.9,0.01);
freq = hslider("freq",200,50,1000,0.01);
gain = hslider("gain",0.5,0,1,0.01);
gate = button("gate");
process = os.sawtooth(freq)*gain*en.ar(attack, release, gate) : fi.resonlp(cutoff, resonance, filter_gain)
<: dry_wet_mono(fx, _, _:re.mono_freeverb(0.75, 0.85, 1.0, 8000)):>_<:_,_;
Make sure that you are listening to MIDI inputs coming from the right port and that you have switched on the polyphonic mode. By evaluating the following Sardine code, you should be able to start playing with your synth immediately:
faust_synth = {
        'attack': {'channel': 0, 'control': 32},
        'release': {'channel': 0, 'control': 33},
        'cutoff': {'channel': 0, 'control': 34},
        'resonance': {'channel': 0, 'control': 35},
        'filter_gain': {'channel': 0, 'control': 36},
        'fx': {'channel': 0, 'control': 37},
}
Faust, faust = MIDIInstrument(
        midi, channel=0,
        instrument_map=faust_synth
)